
Why do we need Alexa toolbar? Because it's a tool that Alexa uses to calculate the ranking of your blog or website.
And it is one of the three factors that a blogger or webmaster should has for improving their Alexa ranking (read how to increase Alexa ranking to know more).
If people with Alexa toolbar installed on their browsers visit your blog, then their visits will be counted by Alexa that will benefit your blog's ranking.
Even your visits will also be counted as long as you have this toolbar installed on your browser. So if you are an active visitor of your own blog, your visits will effect your ranking.
Another method to keep your Alexa ranking small is by installing Alexa widget on your browser, with it all visits whether it's from your visitors or from yourself will be counted. This is better option.
Well since you have known the benefit of the toolbar now it's time to install it on your favorite browser.
In this post I use Google Chrome, but no worry the steps here can also be applied on other browsers like Firefox too.
How To Install Alexa Toolbar / Extension On Browser.
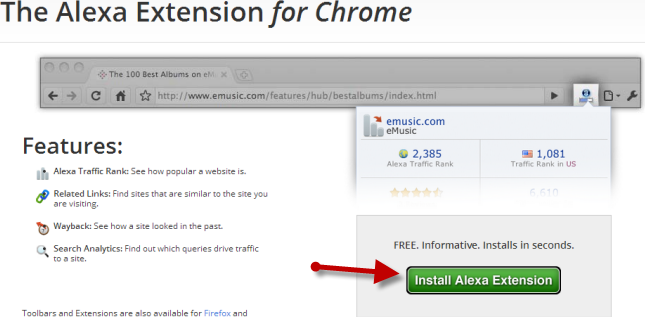
- Now let's open the Alexa toolbar page in this url http://www.alexa.com/toolbar using your existing browser.
- After the page is opened you will see the feature and other stuff. Just click on the Install Alexa Extension green button.
- Now hit on Accept and Install.
- Grant the permission for toolbar to be installed on your browser.
- Follow the rest of the steps till you are asked to restart your browser. Thus restart it, and once your browser is opened you will see the Alexa toolbar. Now your visit counts by Alexa.
That's all to do to install Alexa toolbar on your browser.
No comments:
Post a Comment